We want to grow more food.
seeding is the first step towards a successful harvest.
During our down time we enjoy spending many hours considering our annual garden plan.
It is clear, simple and flexible. At the change of each season we review this plan and dive into our seed box, take some notes and design a planting calendar.
Our seed box is a collection of the plants we know from experience grow well for us in our cool climate conditions, a hardy easy to grow range of seeds supplied by the main organic retail producers with a small collection of our own garden saved seed and gifted seed from friends. In NZ we have so many great planting guides and charts available for the beginner so you can select the vegetable which suits your climate, do keep in mind the complexity of climate and focus on creating your own micro climate within your garden.At the beginning of your seed journey it is best to trust the popular seed suppliers because then you know the germination tests have been carried out and your seeds will perform consistently, if you're using home or shared saved seed I suggest you develop a germination testing practice before you start relying on this self saved seed.
Our propagation tools are simple; a bench made of some old bee boxes topped with plywood, the garden hose, backpacker sprayer, wooden seed trays, compostable fiber pots, half wine barrels and a range of netting and a range of hand tools.
To get started you basically need to create a easy to clean workbench for the seeding and transplanting activities where you're actively hands on with the seeds and seedlings, most of the time however you want the seeds and young plants set up off the ground in a place where they can be sprayed and watered on regular basis. When you’re working with the different inputs which make up seed raising and growing mixes you must be in a well ventilated area to ensure good respiratory health. We also aim to stay away from plastic hence all the wooden equipment, the sprayer is close to essential so we can apply our biological brews in the form of a fine mist to ensure in the early stages of seed and seedling growth the impact on the fragile plants isn’t too intense. The other close to essential materials are the net covers, ranging from a very fine anti insect cover through to the very plastic microclima which acts like a warm blanket to reduce the impact of those cooler nights.
Once we have our garden plan,seed box and work area ready to go, now it's time to get your hands dirty. Get all your seed packets out ready to go before things get messy, make sure the seed or planting mix you're using is always a little damp, not dusty. Layout your trays and pots ready for the very obvious first step of seeding, only once you have the seeds germinated and growing can we move onto transplanting your seedlings into pots or directly into the garden.
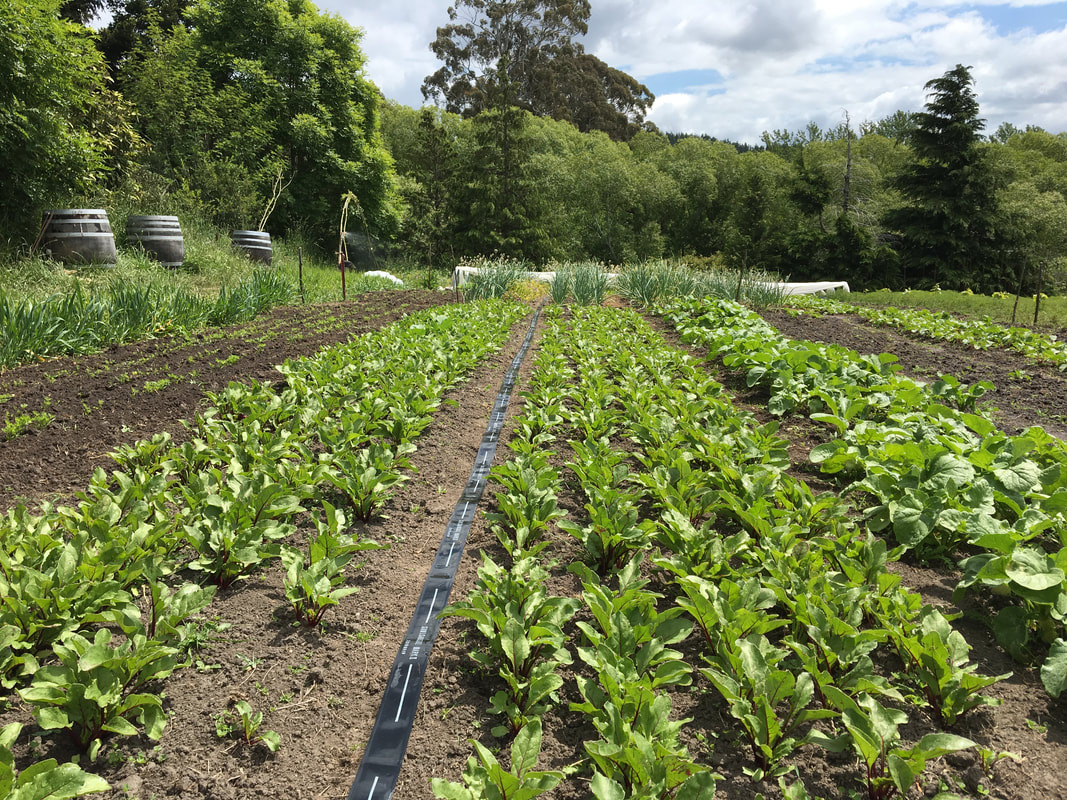
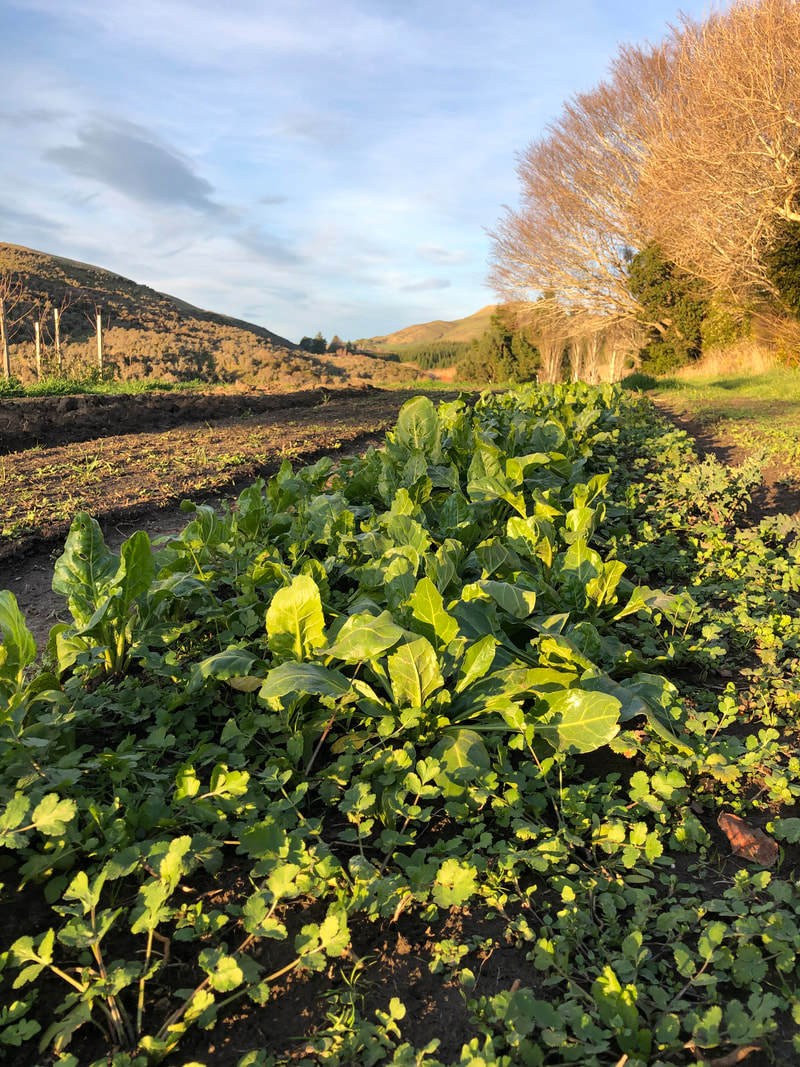
We seed and grow a range of leafy greens, insectary plants and herbs into these trays and pots for transplanting into our gardens once the seedlings are strong enough to handle the seasonal extremes of weather and the inevitable pest attacks. We have our seedlings located on a dry, warm, sheltered wall of our home. Our hardy easy to grow selection process has a firm focus on germination which for us is all achieved outdoors in the south island, creating hardy little seedlings right from the start.
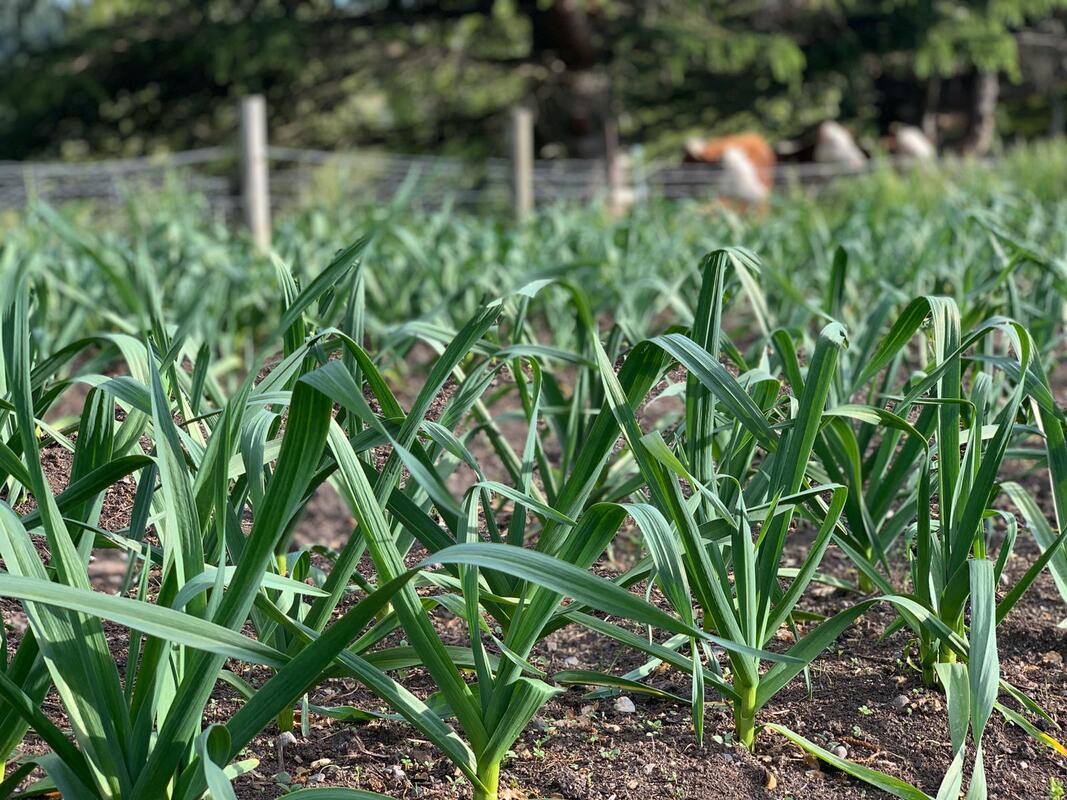
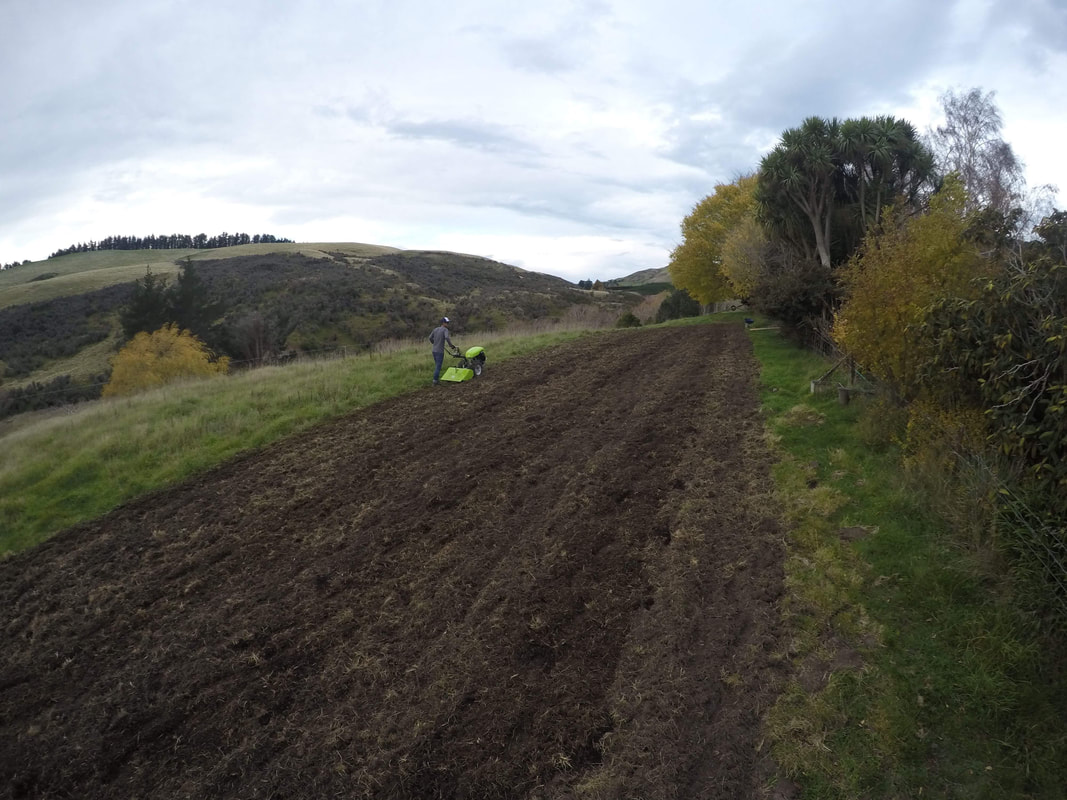
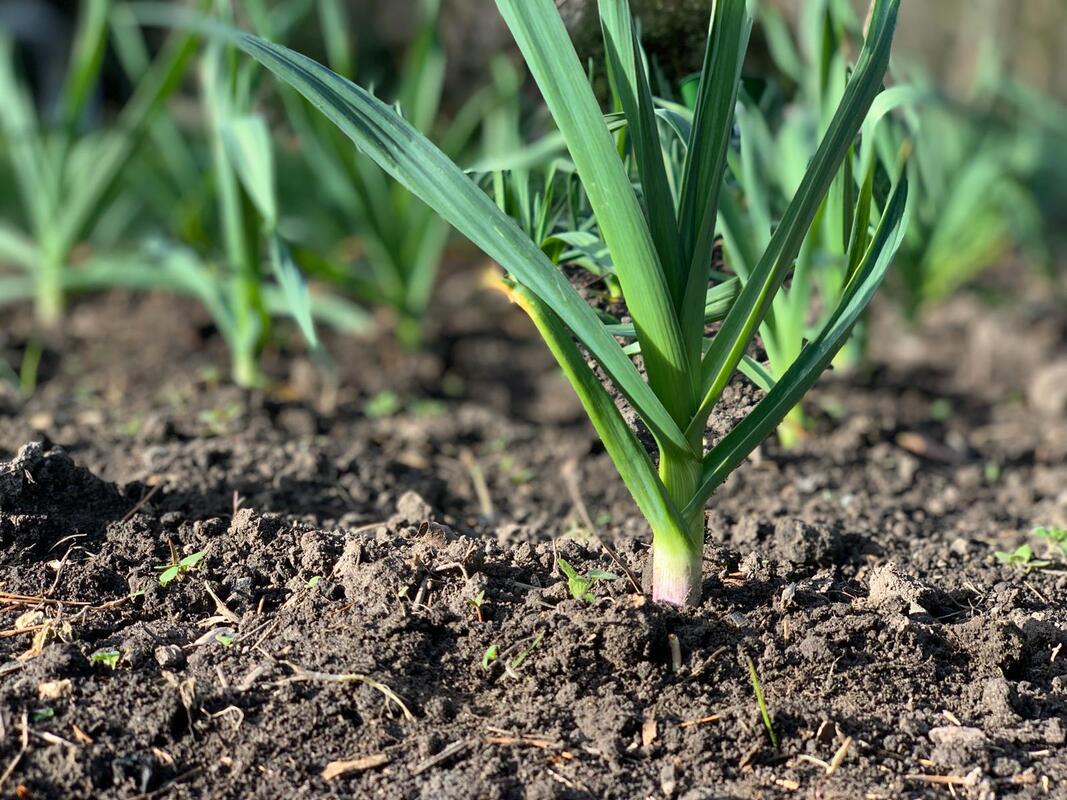
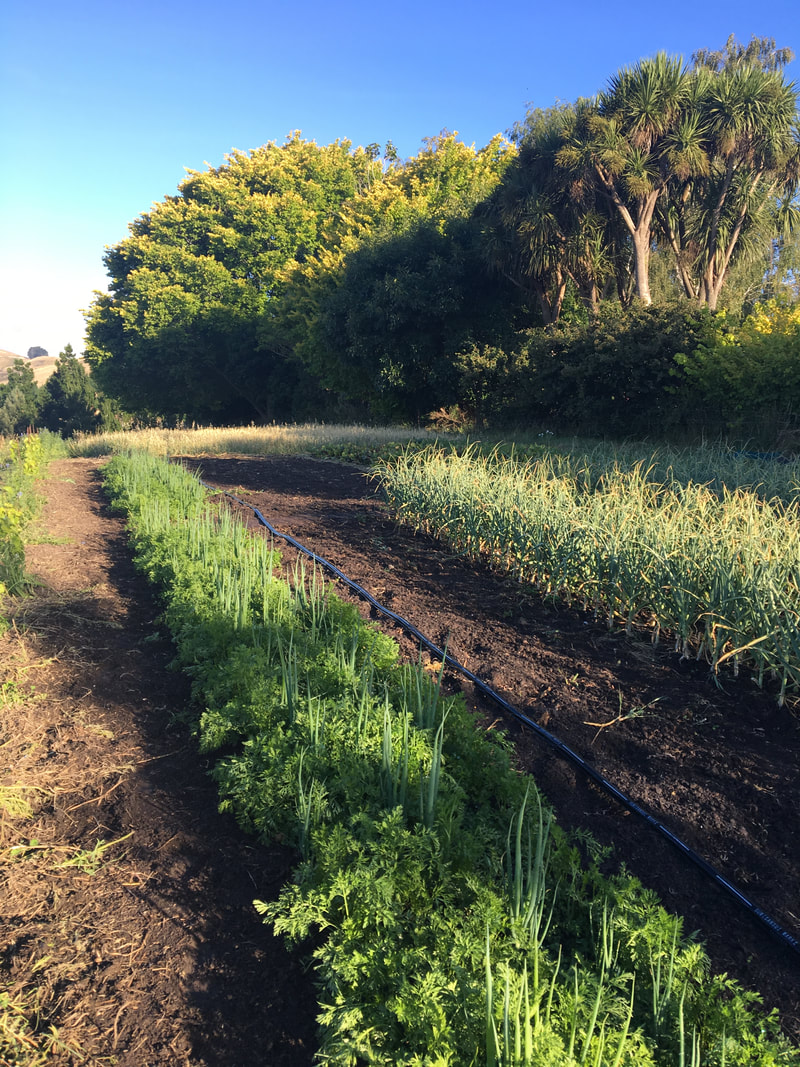
We do also direct seed leafy greens and roots crops with a single row direct seeder and plant our main garlic crop by hand.
By having a mix of direct seeding and transplanting, we are able to minimize the risk of failure during the extremes of the seasons. We focus on a higher percentage of transplanting seedlings, as we find direct seeding during these extremes more challenging and not so consistent.
Sowing in the right season and conditions takes practice and experience and is very specific to your situation, so keep this in mind as the inevitable failures present themselves. It's all part of the journey, so don’t focus on the ideal timing too early.Our rhythm is driven by our bio dynamic learning over twenty years. We seed during the ascending moon and transplant seedling during the descending moon. Leafy greens are sown during the waxing (first quarter) moon and roots early during the waning moon.
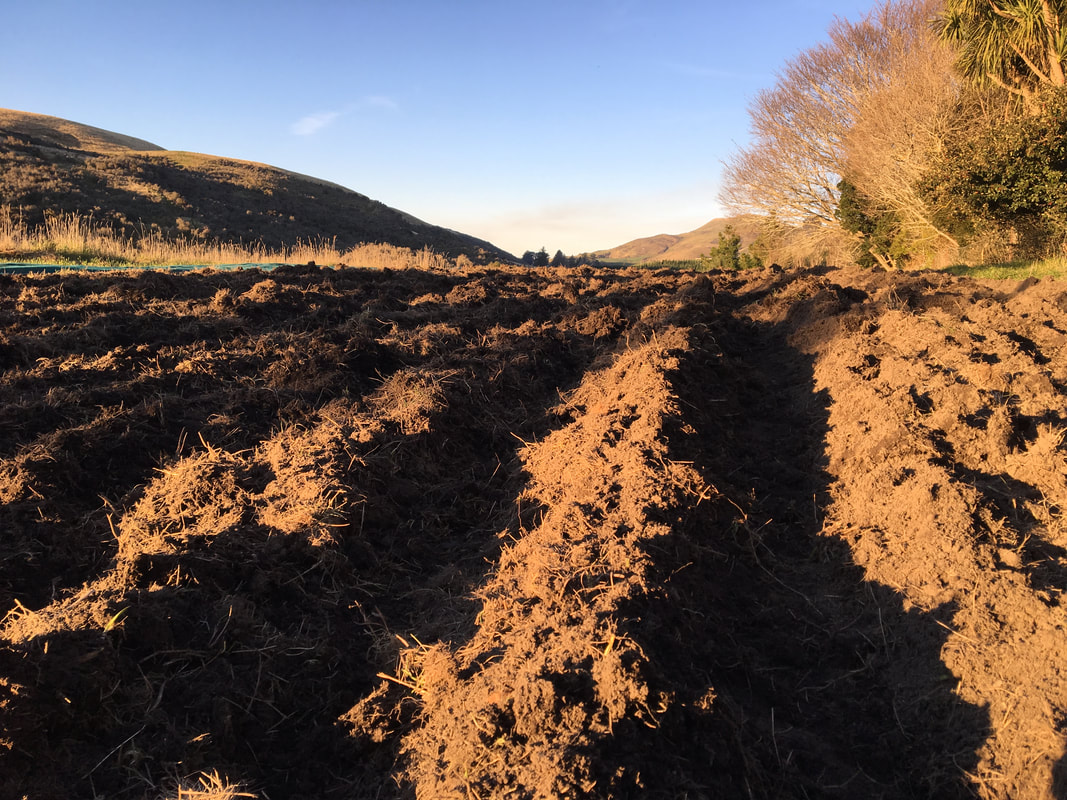
Regardless of indoor or outdoor, your soil or seed raising mix that you are sowing into should be level, the finer your seed the finer the tilth of your seedbed. Fine seed is difficult to distribute one seed at a time and that is why I like to start each session by sowing the large seeds first, to get in the mode of dexterity with my otherwise fairly clumsy thumbs and fingers. I use a gardening knife to create farrows, level and cover seed and consider this my main seeding/transplant tool, the distribution of the seed is as difficult as this process gets and while plenty of fancy little tools are available I suggest using your hands, a knife and plenty of practice.This practice will help the dexterity of your fingers and this also helps when you get to planting out seedlings at transplant time.
All seeds germinate and establish best with good seed to soil contact and this is why the tilth and level surface is so important.
I have found making a farrow in the soil best when sowing larger seeds, where you can lay out your seed and then gently cover this seed by dragging a light soil cover over top. With fine seed I keep the surface level and once the seed is laid out, I sift a light cover of soil over top. Every vegetable has different sizes of seeds which germinate at different speeds, with different requirements for moisture and temperature. All seed suppliers provide very clear suggestions, but the general rule is to cover or plant a seed at a depth twice the diameter of the seed. Once your seeds are in and covered with soil use a fine mist to water these seeds, the weight of the water helps achieve the seed to soil contact you are aiming for.
We seed and grow a range of leafy greens, insectary plants and herbs into these trays and pots for transplanting into our gardens once the seedlings are strong enough to handle the seasonal extremes of weather and the inevitable pest attacks. We have our seedlings located on a dry, warm, sheltered wall of our home. Our hardy easy to grow selection process has a firm focus on germination which for us is all achieved outdoors in the south island, creating hardy little seedlings right from the start.
We do also direct seed leafy greens and roots crops with a single row direct seeder and plant our main garlic crop by hand.
By having a mix of direct seeding and transplanting, we are able to minimize the risk of failure during the extremes of the seasons. We focus on a higher percentage of transplanting seedlings, as we find direct seeding during these extremes more challenging and not so consistent.
Sowing in the right season and conditions takes practice and experience and is very specific to your situation, so keep this in mind as the inevitable failures present themselves. It's all part of the journey, so don’t focus on the ideal timing too early.Our rhythm is driven by our bio dynamic learning over twenty years. We seed during the ascending moon and transplant seedling during the descending moon. Leafy greens are sown during the waxing (first quarter) moon and roots early during the waning moon.
Regardless of indoor or outdoor, your soil or seed raising mix that you are sowing into should be level, the finer your seed the finer the tilth of your seedbed. Fine seed is difficult to distribute one seed at a time and that is why I like to start each session by sowing the large seeds first, to get in the mode of dexterity with my otherwise fairly clumsy thumbs and fingers. I use a gardening knife to create farrows, level and cover seed and consider this my main seeding/transplant tool, the distribution of the seed is as difficult as this process gets and while plenty of fancy little tools are available I suggest using your hands, a knife and plenty of practice.This practice will help the dexterity of your fingers and this also helps when you get to planting out seedlings at transplant time.
All seeds germinate and establish best with good seed to soil contact and this is why the tilth and level surface is so important.
I have found making a farrow in the soil best when sowing larger seeds, where you can lay out your seed and then gently cover this seed by dragging a light soil cover over top. With fine seed I keep the surface level and once the seed is laid out, I sift a light cover of soil over top. Every vegetable has different sizes of seeds which germinate at different speeds, with different requirements for moisture and temperature. All seed suppliers provide very clear suggestions, but the general rule is to cover or plant a seed at a depth twice the diameter of the seed. Once your seeds are in and covered with soil use a fine mist to water these seeds, the weight of the water helps achieve the seed to soil contact you are aiming for.
So that I am enhancing the living nature of the environment around the seeds I water in with a brew. Most often this is a light seaweed brew, while maintaining the appropriate moisture level I can also stimulate the living processes.
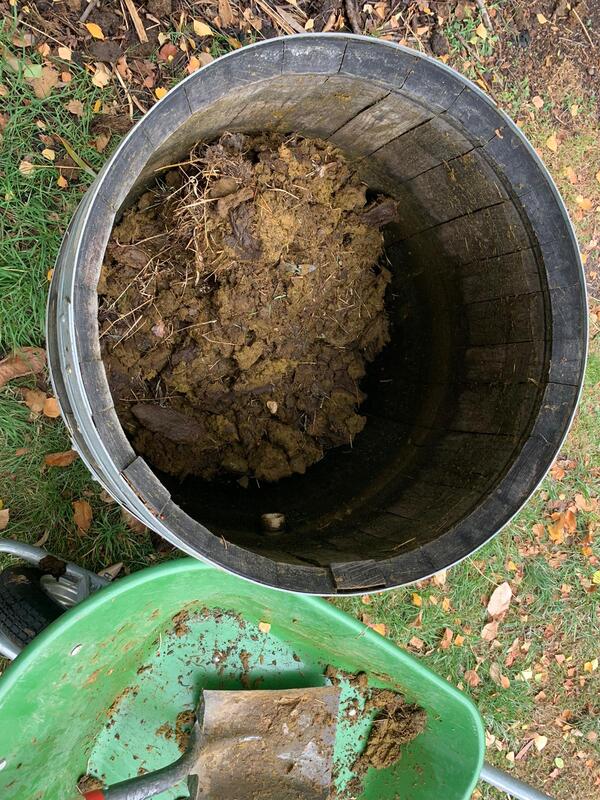
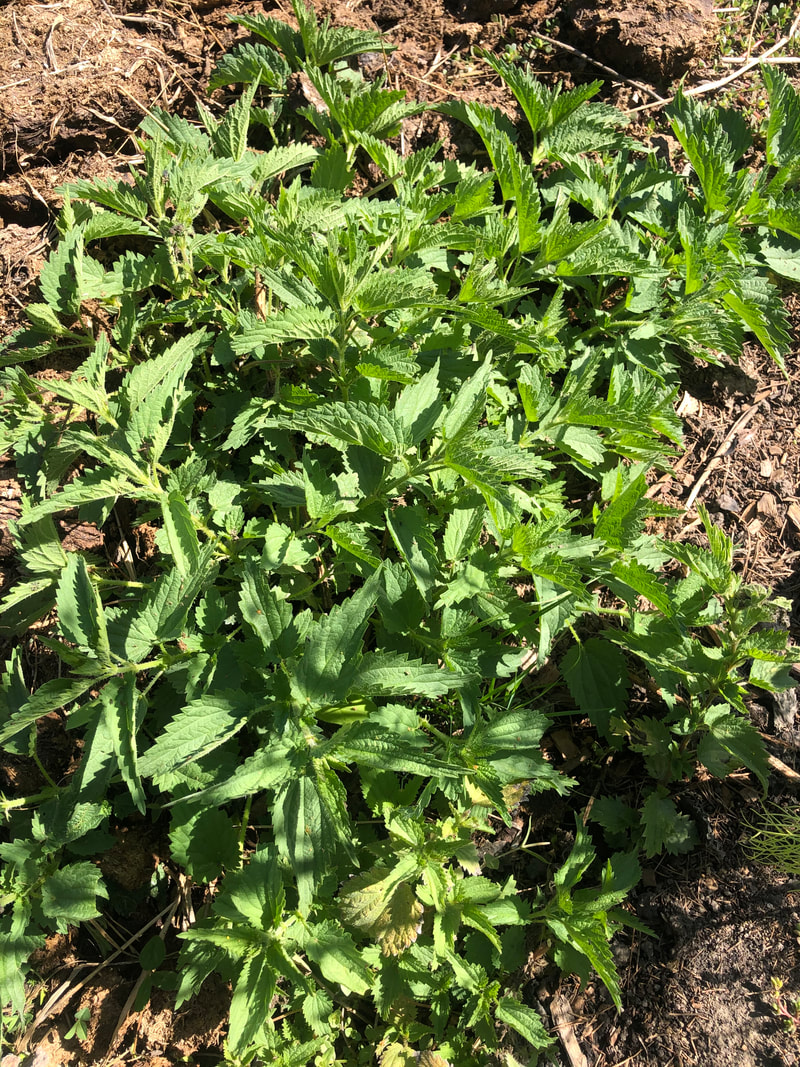
Beyond seaweed we also use nettle tea, comfrey tea, cow pat pit slurry or liquid worm castings in the same way.
The only seed we place in a seed bath the night before sowing is garlic, if we don’t use a light dilution of seaweed, we use a light slurry of the cow pat pit for this.
Once your seed is in place, the moisture and temperature of the seeded environment should consume all of your attention.
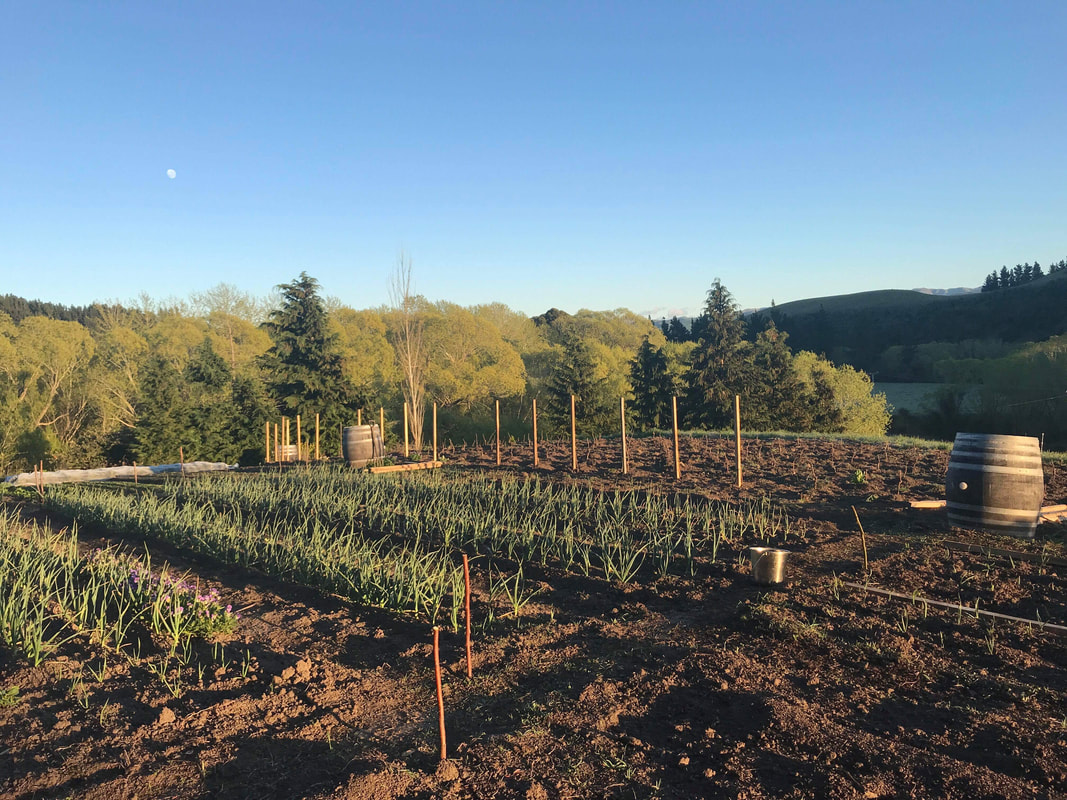
In the garden beds we use a range of material covers to protect the seedbeds, fresh transplants and young seedlings while the new roots establish and we assess just which pests might be around to test us.
I have found the development of the first two leaves to be the trigger for your next move regardless of indoor or outdoor growing, at this stage your little seedlings should be large enough to handle. If you are thinning out seedlings to create more space for the plants which remain or transplanting your little seedlings into a pot to grow on. You want to get onto this nice and early to ensure the roots are still fine and not entangled with its neighbors. The aim is firmly on reducing stress, so make sure moisture is present, you are gentle and you move quickly. We transplant in our garden during the afternoon and on days when the weather is calm and relatively gentle.
As this practice evolves, you will begin to create your own list of plants which you know you will have more success with at seeding and at transplanting and you will create your own rhythm within each season.
While the seedlings are young we continue to spray the soil with our biological brews so we continue to inoculate the soils and create a biological connection. This approach aims to build the plant's health in a preventative way so we very rarely spray to eliminate pests or disease but instead focus on encouraging the plant's natural defense. If we do spray for pests it's usually with a diluted garlic oil or nettle tea and for disease it will be a sulphur spray or mineral oil.
At every step I suggest you apply a selection process. A real survival of the fitness mindset, over time creating an understanding of what a healthy version of each vegetable looks like and what type of stress contributes to the plant's failure as it travels through the different growth stages and its way towards a successful harvest. If you fail, start again knowing that each time you repeat the process you can adapt, change and learn.
Another healthy evolution once you have your basic best practices in good shape comes in the craft of developing the best timing, our approach to this is flexible.
We have learnt that much of the plant's health comes from them growing in conditions which suit them best and which ultimately reduces stress.
These conditions as we all know however are variable even within seasons, so we like to throw out the rule book and take a risk, growing the hardy plants we know so well during times which aren’t necessarily the norm.
We achieve this by keeping the timing of harvest in mind and then we apply a succession approach only sowing small batches each time, which means during autumn and spring especially we are sowing every ten to fourteen days.
Beyond seaweed we also use nettle tea, comfrey tea, cow pat pit slurry or liquid worm castings in the same way.
The only seed we place in a seed bath the night before sowing is garlic, if we don’t use a light dilution of seaweed, we use a light slurry of the cow pat pit for this.
Once your seed is in place, the moisture and temperature of the seeded environment should consume all of your attention.
In the garden beds we use a range of material covers to protect the seedbeds, fresh transplants and young seedlings while the new roots establish and we assess just which pests might be around to test us.
I have found the development of the first two leaves to be the trigger for your next move regardless of indoor or outdoor growing, at this stage your little seedlings should be large enough to handle. If you are thinning out seedlings to create more space for the plants which remain or transplanting your little seedlings into a pot to grow on. You want to get onto this nice and early to ensure the roots are still fine and not entangled with its neighbors. The aim is firmly on reducing stress, so make sure moisture is present, you are gentle and you move quickly. We transplant in our garden during the afternoon and on days when the weather is calm and relatively gentle.
As this practice evolves, you will begin to create your own list of plants which you know you will have more success with at seeding and at transplanting and you will create your own rhythm within each season.
While the seedlings are young we continue to spray the soil with our biological brews so we continue to inoculate the soils and create a biological connection. This approach aims to build the plant's health in a preventative way so we very rarely spray to eliminate pests or disease but instead focus on encouraging the plant's natural defense. If we do spray for pests it's usually with a diluted garlic oil or nettle tea and for disease it will be a sulphur spray or mineral oil.
At every step I suggest you apply a selection process. A real survival of the fitness mindset, over time creating an understanding of what a healthy version of each vegetable looks like and what type of stress contributes to the plant's failure as it travels through the different growth stages and its way towards a successful harvest. If you fail, start again knowing that each time you repeat the process you can adapt, change and learn.
Another healthy evolution once you have your basic best practices in good shape comes in the craft of developing the best timing, our approach to this is flexible.
We have learnt that much of the plant's health comes from them growing in conditions which suit them best and which ultimately reduces stress.
These conditions as we all know however are variable even within seasons, so we like to throw out the rule book and take a risk, growing the hardy plants we know so well during times which aren’t necessarily the norm.
We achieve this by keeping the timing of harvest in mind and then we apply a succession approach only sowing small batches each time, which means during autumn and spring especially we are sowing every ten to fourteen days.
Direct sown & Transplant seedlings.
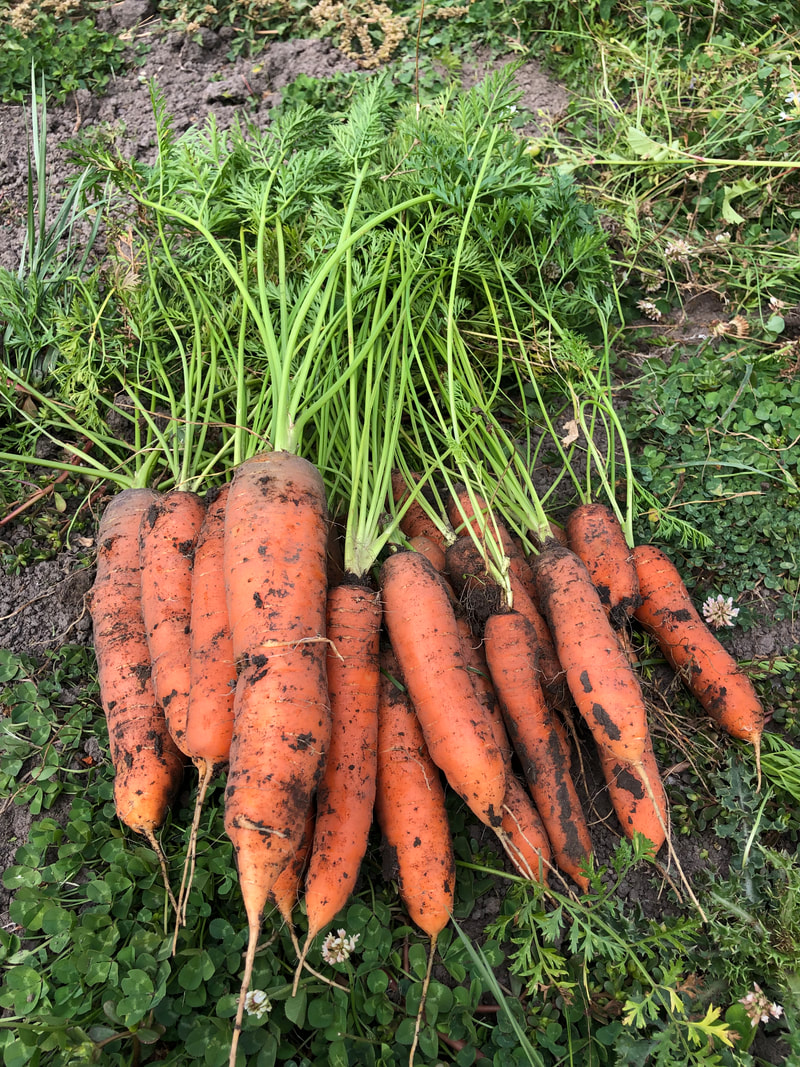
Carrot scarlet nantes.
Beetroot Detroit dark red.
Broccoli Raab Spring Rapini
Cabbage green express.
Celery Elne.
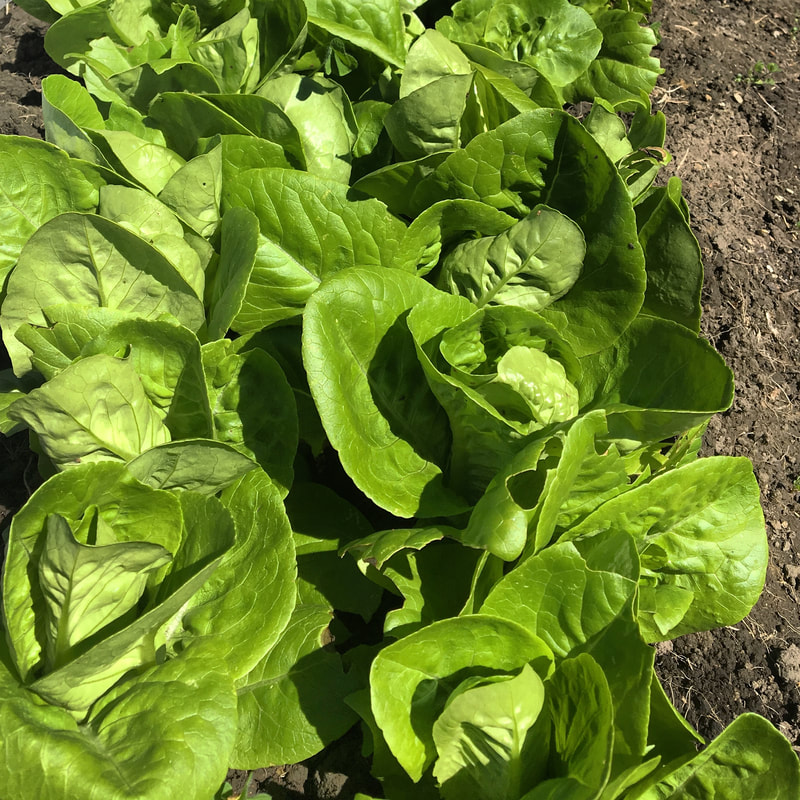
Lettuce.
Parris island Cos.
Little Gem.
Organic Rocket.
Radish cherry belle.
Spinach bloomsdale.
Spring onion tokyo long island.
Parsley gigante italian.
Florence Fennel milano.
Coriander Picante.
Fruits.
Zucchini Black Beauty.
Broad Bean Robin hood. (DS)
Pea Petit Provencal. (DS)
Green Manure.
Crimson Clover.
Beans.
Peas.
Vetch.
Blue Lupin.
Ryecorn.
Triticale.
Oats.
Speciality.
Garlic.
Turmeric.
Salsify.
Potatoes.
Saltbush.
Rhubarb.
Lemon.
Strawberry.
Raspberry.
Blueberry.
Insectary.
Alyssum.
Blue Borage
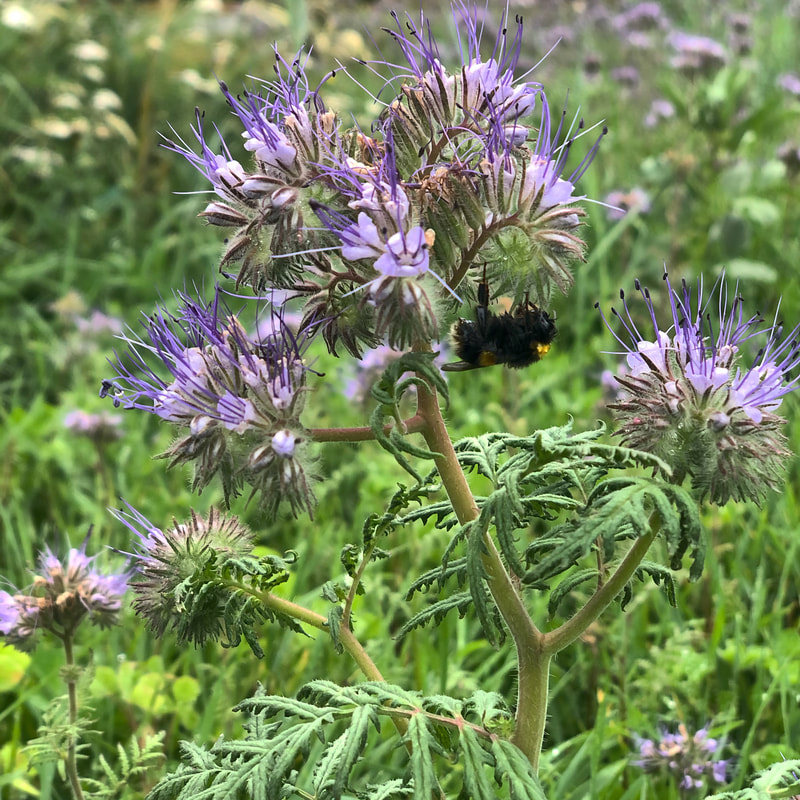
Phacelia.
Calendula.
Cornflower.
California Poppy.
Viola Heartsease.
Long term carbon / compost.
Tree Lucerne.
Willow.
Alder.
Borders.
Thyme.
Sage.
Mint.
French Sorrel.
Rosemary.
Loverage.
Nettle.
Comfrey
Wormwood.
Carrot scarlet nantes.
Beetroot Detroit dark red.
Broccoli Raab Spring Rapini
Cabbage green express.
Celery Elne.
Lettuce.
Parris island Cos.
Little Gem.
Organic Rocket.
Radish cherry belle.
Spinach bloomsdale.
Spring onion tokyo long island.
Parsley gigante italian.
Florence Fennel milano.
Coriander Picante.
Fruits.
Zucchini Black Beauty.
Broad Bean Robin hood. (DS)
Pea Petit Provencal. (DS)
Green Manure.
Crimson Clover.
Beans.
Peas.
Vetch.
Blue Lupin.
Ryecorn.
Triticale.
Oats.
Speciality.
Garlic.
Turmeric.
Salsify.
Potatoes.
Saltbush.
Rhubarb.
Lemon.
Strawberry.
Raspberry.
Blueberry.
Insectary.
Alyssum.
Blue Borage
Phacelia.
Calendula.
Cornflower.
California Poppy.
Viola Heartsease.
Long term carbon / compost.
Tree Lucerne.
Willow.
Alder.
Borders.
Thyme.
Sage.
Mint.
French Sorrel.
Rosemary.
Loverage.
Nettle.
Comfrey
Wormwood.

|
|